So, I have these CUUUTE 60s botanical prints that I want to mat and frame for the market. And... if they don't sell, I'll probably keep them. Forever.
Anyway, so I was trying to think of the cheapest way to get quality frames in a nice dark wood (read: modern) to compliment the "natural" look of the botanicals in an updated way.
So I'm perusing H-to-the-L one day and come across 50% off open back frames. Nothing really appeals to me until I find some blond, unfinished wood.
"Oooo!" I think, "how great is that? I have stain and I can just stain these babies up to show off the wood grain, poly them and voila (!) - cheap frames using what I have.
Or not.
Last week, I get them home, excited for my first stain project (well, I've watch my Dad do it plenty of times) and go to town. The instructions say to leave it on for 5-15 min depending on how dark you want your color. "Well, the darker the better," I think and leave it on for probably 10 minutes. I go to wipe it off and...
IT LOOKS AWFUL.
Completely awful. Horrible. Splotchy - some light some dark and some almost black. No good.
So what do I do? I hop online and search. Sure enough, lots of people have this problem. There are some complicated and pricey(!) solutions to this. I decide to go with the easiest solution (sand down and start over) and if all else fails, I'm going to paint these buggers. Don't want to, but I will.
Here's what I've learned about staining wood:
- "Unfinished" wood is not necessarily synonymous with "stain ready" - especially cheap frames from the hobby store. Sand it down with 100 then 120 then 220 sandpaper until you run your fingers over it and it's baby butt smooth.
- Endgrain will suck up the stain no matter what, but sanding definitely helps. A fine sanding will repel some of the stain, but you get a much more even coat.
- 24 hour old stain really is a pain to get off.
- Leave the stain on just long enough to get that thing covered and then wipe off! If you need to work in sections, please do. (I'm also going to redo the top of a table and already have these things in mind...)
Here is the progression (excuse my sanding/staining mess in the bkg.)
Frame 1: stained mess
Frame 2: almost re-sanded down
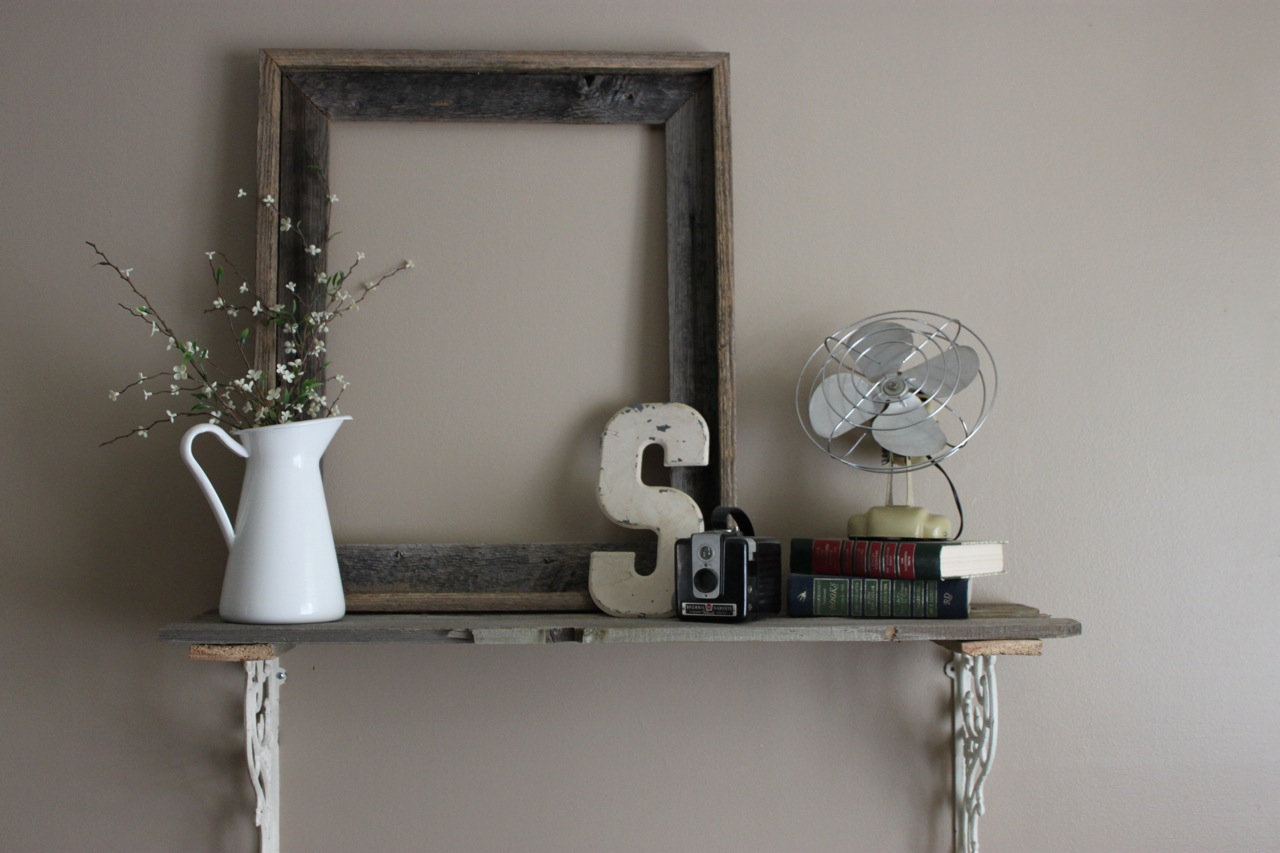
Frame 3: sanded and restained beauty
** Thankfully, I don't think I'll have to paint these. Sanding was a pain but, in the end, worth it.
Here's the final product:
Not perfect, but a heckava lot better than before! The woodgrain actually looks appealing and they all have their variations, but they are mostly the same color.
Can't wait to show you the prints matted and finished! Now I just need to find a mat cutter ...