Hi friends! It's beginning to look a lot like Christmas around here. Yay! (Now we just need some weather to go with it. We're staying home this year, so why not!?)
Here are a few holiday spots around our home this year...
... a front door wreath (that hangs on the inside because it won't fit between our screen door!)
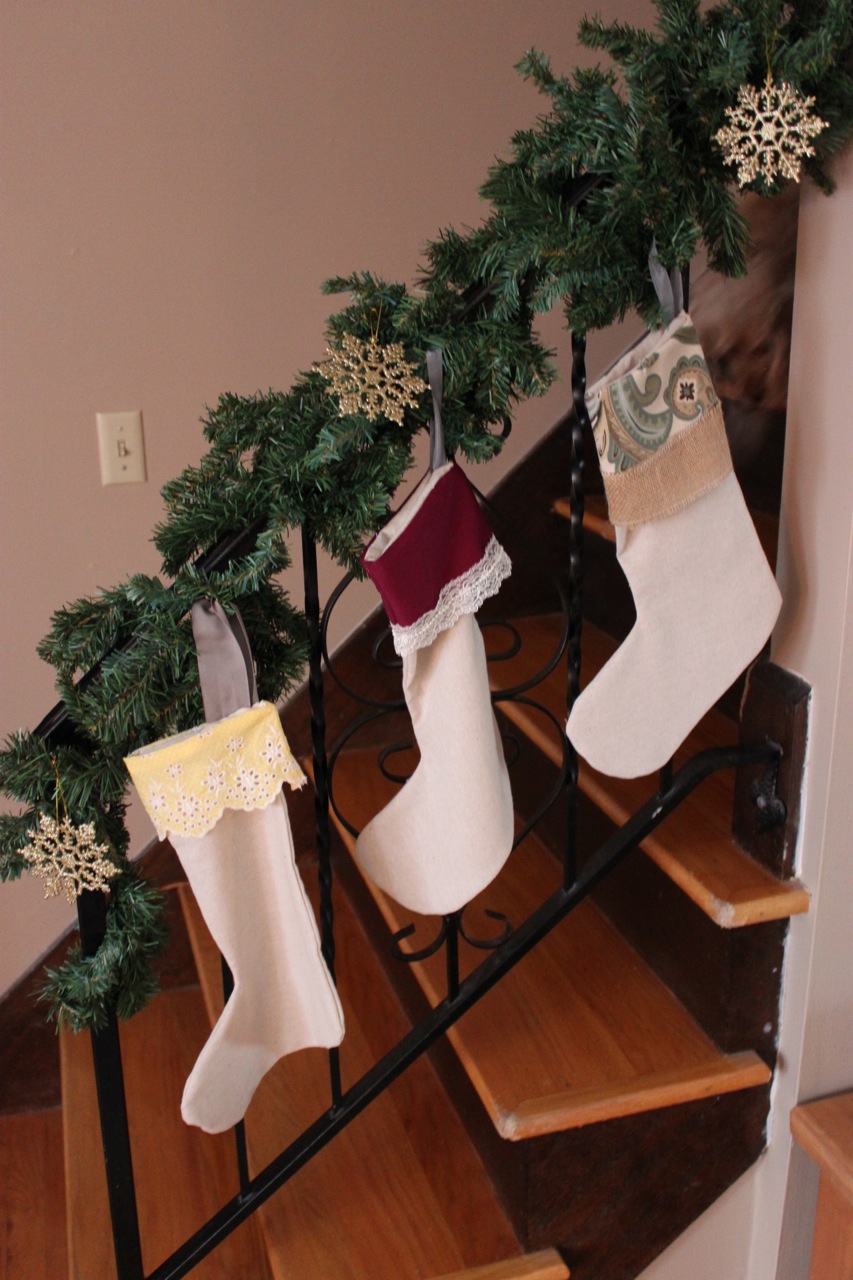
... handmade stockings all hung on the
bannister with care...
... and a gift from a few years ago that I love! I want it to be a coffee table/ottoman setting, but not with curious little fingers this year.
A festive tablescape complete with birthday flowers and pomegranates.
Have any good pomegranate recipes? I got them for a great price!
I've officially completed the crafting part of the season (not that creativity is over - I still have lots of baking to do!) so our house can be merry and bright. I wanted to create a budget-friendly Advent calendar to use in years to come - and after several days of deliberating, here's what I came up with.
I used a second-hand red tablecloth for the background - I actually made a casing for some stabilizer and then top stitched around it.
Then I looped over the top for a dowel (or an unused spring-loaded curtain rod in our case) for stability at the top. A piece of yarn is holding it on the nail.
I really didn't want to spend the time to cut, iron and sew all of the corners of 25 squares for pockets, so I took the easy way out and used sheets of felt. I cut out a pattern piece and then followed it. I ran out of cream for all 25, so I used white and made an "X" pattern in the squares. Can you tell?
My biggest question was how to get the numbers on the calendar. Lots of ideas ran through my head, but I wanted it to be done as simply (and cost effective!) as possible.
I actually wanted to only use things I had, but my number drawing skills are lacking. So I went to the hobby store and grabbed a little stencil for about $2. Using black acrylic paint, I stippled the numbers right to the felt. Perfect.
You can see they are filled with candy this year - "num nums" is something my sweet girl can understand and be excited about! In years to come I hope to more effectively tell The Story through the calendar, but right now, I'm okay with this approach.
My calendar isn't perfect, but I really like it (although I may re-do the yellow star - it looks a little wonky, eh?) and I'm looking forward to counting down to the Christmas season with my family in years to come. And not bad for $2, huh?