a gray and yellow nursery (boy version)

10.04.2012

I have been waiting several months to do my boy/girl gray and yellow nursery features - and here is the first!

We finally met my nephew, Asa, a couple weeks ago and it was a family effort finishing up the nursery and prepping it for the photo shoot. ("Photo shoot" being used very loosely here, folks.)

There was still enough light when we finished up and snapped the photos.


Besides gray and yellow, you will quickly see that Asa's room is owl-themed.


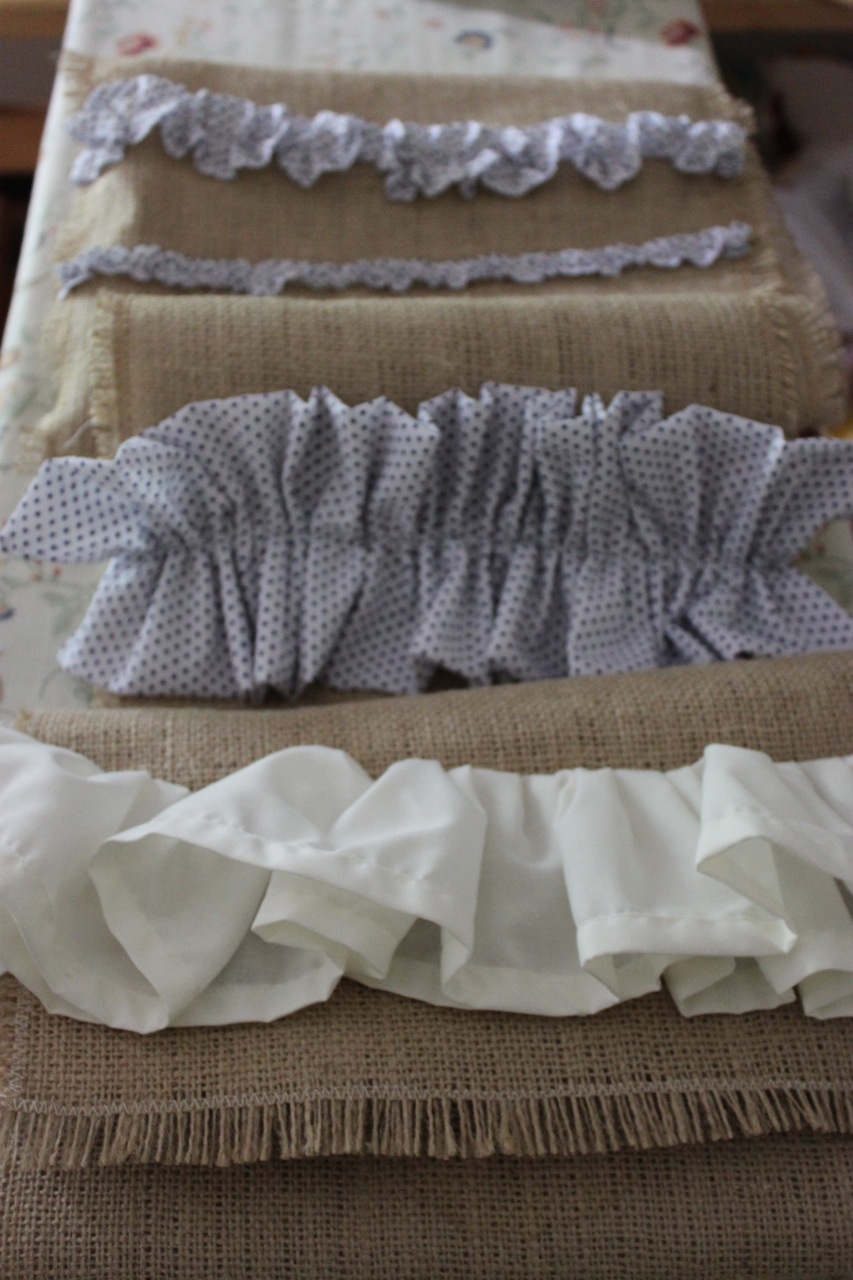
My BIL, Shawn, is quite the artist and designed and painted the "Asa" mural above the crib. Three walls are a slate gray and window wall is golden yellow. Crib linens will be featured tomorrow, so I won't go into them but see the peek of gray rug? IKEA!


Several of the decorative owls were found at Hobby Lobby. I also had a few squares of wood from a failed decor project that I brought along with three wooden initials. We painted the squares yellow and the "AMH" white. Cute, no?


Shawn is also quite handy with a bottle of spray paint and perfectly coated this ceramic owl. I think he's my favorite one!


And, remember the 9-square shelf for Ladybug's nursery? My dad built another but this time a custom built-in window shelf and bookcase! So impressive.


Jenn fell in love with these prints on Etsy and I quickly told her I could easily duplicate them in InDesign. So I did.


The full-size dresser was a thrifted find that they painted and then my preggo sister helped haul it up the stairs! Sheesh!


While we were there J&S came across a discarded garage sale lamp on the neighbor's curb - in all it's floraly goodness. But, seeing past the flowers, they saw a great lamp and Shawn used his mad spray painting skills (seriously, I'm jealous. He's that good.) to get this lamp in tip-top shape. Doesn't it look amazing? Practically brand new!


(I just realized I don't have a full-picture of the built-in, but every picture I took facing the window is awful! The other half is up a few pictures.)


We had fun "staging" the shelves.


Even the littlest details were thought of, like fan pulls.


And that's it! What do you think? Didn't it pull together nicely?

I really, really like it - J&S the hard work was worth it!

CSA Week 18

10.03.2012

Last month of CSA! (And if you are sick of the CSA posts, be happy ... only a few more to go.)


a bunch of radishes, 3-4 small heads bok choy, bag of arugula, 1-2 lbs green beans, bag of salad mix, 1 lg and 4 tiny sweet peppers, 1 medium butternut squash (and 4 small pears from the week half of ours were bad!) 


The first of the autumn/winter squashes. Oooo! What should I make?

Reclaimed Lumber Shelf

9.28.2012

A DIY on the reclaimed wood shelf in the living room makeover...

So I was driving to my last piano lesson of the day one Monday evening and I spotted some fence boards on the side of the road. On my way back home, I stopped to pick them up. It was obvious that they had been replaced because of some defect, but I chose boards that were salvageable.

The next day I hammered out all of the nails (duh).


Measured a 38-in shelf...


Then broke in my trusty handsaw and cut the boards to the same length.


Then I took a wire brush to get any dirt, splinters, etc from them. I wanted to keep the rustic, weather-worn look, so I didn't sand, etc. I knew it would also be up high enough from wandering toddler fingers that I didn't really need to worry about getting it super smooth. (Dusting it, however, is a challenge...)

I cut two small support boards from the leftover wood and nailed/screwed them all into place.


We screwed the decorative shelf brackets (found at Hobby Lobby clearance - $4 ea - a couple years ago) into two studs and then screwed the shelf from beneath.


And, here she is! Even after some decorating friend consultation, I'm still not 100% satisfied with it, but I'm working on it. I know you saw it yesterday, but to complete the post - here she is! 

a little livingroom makeover (rental version)

9.27.2012

Pretty sure it was way back in the spring when I decided to do a little living room makeover. It wasn't bad, but I just wasn't satisfied with it and really wanted something with more of my developing (vintage) personality in it.

Here's the Before:


When my Grandma passed away last year, I asked for some fabric and this blue/purple/gray floral on cream was one that I didn't sell on Etsy. I kept all five beautiful yards for myself. This came in handy when I decided to use it for curtains! I cut the length exactly in half to get the longest yardage I could for both curtains and then doubled it over to make my pleated look.

For the curtain rod faux pleated look I just sewed the largest button holes my machine would give me all along the top. I alternated the holes as I put them up and voila!

I love them.


I'm hoping to pull inspiration colors from them for future pillows, decor, etc. but this is all I have for now.

I  snagged this birdcage from a garage sale last year and I'm so glad I did! It was sitting on top of the tv cabinet but when Jeremy's electronic project took over it found a new home. In the basement (*tear!).


Then I had a stroke of brilliance and decided to remove the bottom and the feeding bottles and rework it into a hanging light. After a little bit of research, a lamp wiring kit from the hardware store, and a bit of wiring help from my husband, I had a new hanging lamp!


Jeremy is always saying that we don't have enough light in our living room at night and this was a small way of helping the problem. Since then I've moved around another lamp so we're left with the same problem for now. Oh well.


(I love it and its chippiness! And I'd love it more if it was hardwired into the ceiling, but renting makes that a non-option. Maybe some day.)

Finally, I switched out the three black and white European photography prints for a shelf I've been planning to make for quite some time. (Shelf tutorial to follow soon!) I wanted a rustic shelf to display some of my vintage finds out of the way of curious toddler fingers.

Here was my solution.


White pitcher (IKEA), faux flowers (Hobby Lobby), rustic wood frame (garage sale), metal letter "S" (vintage sale), brownie camera (antique store), vintage fan (garage sale), vintage books (free from library).


The Before (again):


The After:


Oh wait! I mean...


:-)

CSA Week 17

9.26.2012

This week in the CSA world we got...


... a half dozen brown eggs, a bunch of turnips, a bunch of braising greens (4 different kinds of greens), several cups of salad mix, several small sweet peppers, a pint of cherry tomatoes, and a lb of wax beans.

Anyone know about wax beans? Are they the same as green beans? I'm excited to find out and try these!


And, a few recipes as promised.

Fresh Salsa (small batch)


1/2 small white onion
1 garlic clove
1 small jalapeno pepper
1-1/2 lb plum/grape/cherry tomatoes
1-2 T lime juice
2 T cilantro
3/4 t salt

Pulse together in a food processor just until combined.


Applesauce Spice Cake (8" or 9" square cake)
  • 2 cups all-purpose flour
  • 2 teaspoons baking powder
  • 1/2 teaspoon baking soda
  • 1/2 teaspoon salt
  • 3/4 teaspoon cinnamon
  • 1/2 teaspoon ground ginger
  • 1/8 teaspoon ground cloves
  • 1 stick unsalted butter, softened
  • 1 cup packed light brown sugar
  • 1 teaspoon pure vanilla extract
  • 2 large eggs
  • 1 1/2 cups unsweetened applesauce
(frosting)
  • 5 oz cream cheese, softened
  • 3 tablespoons unsalted butter, softened
  • 1/4 teaspoon pure vanilla extract
  • 1 cup confectioners sugar
  • 1/2 teaspoon cinnamon 

    Preheat oven to 350°F with rack in middle. Butter an 8- or 9-inch square cake pan. Whisk together flour, baking powder, baking soda, salt, and spices. Beat butter, brown sugar, and vanilla with an electric mixer at high speed until pale and fluffy, 2 to 3 minutes. Add eggs 1 at a time, beating well after each addition, then beat in applesauce. At low speed, mix in flour mixture until just combined, then stir in walnuts (if using). Spread batter evenly in pan and bake until golden-brown and a wooden pick inserted into center comes out clean, 40 to 45 minutes. Cool in pan 15 minutes. Run a knife around edge of cake to loosen, then invert onto a plate. Reinvert cake onto a rack to cool completely. Beat cream cheese, butter, and vanilla with an electric mixer at high speed until fluffy. Sift confectioners sugar and cinnamon over cream cheese mixture, then beat at medium speed until incorporated. Spread frosting over top of cooled cake.
So yummy! A dense, moist cake.


Apple Butter (from Valerie, but adapted crock pot version)

5-6 lbs apples reduced to applesauce

1-1/2 c sugar (more or less depending on sweetness of apples)
3 t. cinnamon
1/4 t. salt
1/2 t. cloves
1/2 t. nutmeg

Combine ingredients in a crock pot. Cook on low 8-10 hours removing lid for last 1-2 hours until desired spreading consistency is achieved.

I froze mine in bags because I don't have canning supplies. :-( Hopefully it'll be just fine. We'll see how that works out!

sheews

9.21.2012

Ladybug LOVES shoes. She went through a phase of insisting she help me into my shoes. Over and over. And again.
Then she wanted to put on her own shoes. She knows when I say go, she says "sheews"!

A few times she's tried on our shoes instead of her own. Here's she's getting ready to go on a bike ride (thus the helmet) and decided to try on Daddy's new tennis shoes.


They almost fit, don't they? :-)

We're off to see our new little nephew/cousin, Asa, this weekend so we'll bid you "Ciao" and "until next time"!

CSA Week 16

9.19.2012

This week brought us... (sorry sorry sorry! these pictures are so yellow awful!)


... 4 crisp apples, a bunch of radishes, a lb of grape tomatoes, 1-2 lbs sunchokes  (Jerusalem artichokes), a bunch of arugula, 4 sweet peppers, and a huge bunch of basil!

The pick for this week is the Jerusalem artichokes because I haven't had these or seen these before. I actually thought it was ginger before she said something because of the knobbiness, but these are a veggie that tastes like a cross between potato and artichoke. You can eat them raw but cooked they taste a lot like potato - starchy etc. I'll let you know how they roast up!


Also, I inquired about my bad pears and she said she'd replace them next week. Gotta be assertive!

Finally, I didn't snap a pic because it looked strange and slightly disgusting, but after peeling almost an entire laundry basket full of organic apples (thanks to Val and her parents!) and making loads of applesauce -- frozen not canned -- I ventured into the apple butter realm and oh did my kitchen smell amazing yesterday!

I used Valerie's recipe but let it simmer in the crockpot for 8 hours instead of on the stove. Yum, yum yum. Applesauce, sugar, cinnamon, nutmeg, cloves ... oh so delicious. Could that combination be anything but pleasure!?

My apples are finally gone, but not in the way of enjoying them!  I'll be baking with the applesauce for quite some time. (I did save out a few apples for Ladybug to eat. She gets a little cup and I slice the apples in it - sans skin because she'll only chew it up and throw it on the carpet - and she goes to town giggling when Jackson gets a bite.) Apple  Butter and Applesauce Spice Cake recipes coming next week!

I love fall!! Are you ready for fall?

Wood Staining: What Not to Do...

9.17.2012

So, I have these CUUUTE 60s botanical prints that I want to mat and frame for the market. And... if they don't sell, I'll probably keep them. Forever.

Anyway, so I was trying to think of the cheapest way to get quality frames in a nice dark wood (read: modern) to compliment the "natural" look of the botanicals in an updated way.

So I'm perusing H-to-the-L one day and come across 50% off open back frames. Nothing really appeals to me until I find some blond, unfinished wood.

"Oooo!" I think, "how great is that? I have stain and I can just stain these babies up to show off the wood grain, poly them and voila (!) - cheap frames using what I have.

Or not.

Last week, I get them home, excited for my first stain project (well, I've watch my Dad do it plenty of times) and go to town. The instructions say to leave it on for 5-15 min depending on how dark you want your color. "Well, the darker the better," I think and leave it on for probably 10 minutes. I go to wipe it off and...

IT LOOKS AWFUL.

Completely awful. Horrible. Splotchy - some light some dark and some almost black. No good.

So what do I do? I hop online and search. Sure enough, lots of people have this problem. There are some complicated and pricey(!) solutions to this. I decide to go with the easiest solution (sand down and start over) and if all else fails, I'm going to paint these buggers. Don't want to, but I will.

Here's what I've learned about staining wood:

- "Unfinished" wood is not necessarily synonymous with "stain ready" - especially cheap frames from the hobby store. Sand it down with 100 then 120 then 220 sandpaper until you run your fingers over it and it's baby butt smooth.

- Endgrain will suck up the stain no matter what, but sanding definitely helps. A fine sanding will repel some of the stain, but you get a much more even coat.

- 24 hour old stain really is a pain to get off.

- Leave the stain on just long enough to get that thing covered and then wipe off! If you need to work in sections, please do. (I'm also going to redo the top of a table and already have these things in mind...)


Here is the progression (excuse my sanding/staining mess in the bkg.)

Frame 1: stained mess
Frame 2: almost re-sanded down
Frame 3: sanded and restained beauty


** Thankfully, I don't think I'll have to paint these. Sanding was a pain but, in the end, worth it.

Here's the final product:


Not perfect, but a heckava lot better than before! The woodgrain actually looks appealing and they all have their variations, but they are mostly the same color.

Can't wait to show you the prints matted and finished! Now I just need to find a mat cutter ...

More Christmas Market Upcycles

9.13.2012

A few random home decor pieces that will go in my market booth...

Loved this 70s print found at a garage sale for $1. Hated the frame.


My original idea was to disassemble the frame and just reframe the butterflies in a modern oval shaped frame. (Still looking for that frame! Any ideas?)


Then I got to thinking that I should try painting the frame and using it too! (Duh!) So I painted it with black acrylic and used the heavy cardboard backing to decoupage some old sheet music to. Here's a peek:


A couple of grapevine wreathes I thrifted are going to be a sweet and simple little decor piece with white flowers and burlap "ribbon" strings.


Then I've upcycled some coffee bags into coasters. Definitely for the pretty factor, not for waterproof coaster protection. :-) I weaved in some vintage sewing notions for some fun, color and personality.


Finally, I'm using some vintage fabric (from my Grandma's stash) to make table runners. I love ruffles!


And I spent a couple hours (mostly in front of Project Runway) in several different stages, cutting and punching out these recycled cardboard tags. Lemme tell ya, my hands HURT after I was done!

But I love 'em. And I got 110 for only about $6! (Plus the stamps are reusable.)


Tell me what you think! Any other ideas just popping out that you have to share?! I'm open!

CSA Week 15

9.12.2012

This week's CSA...


... included a bag of salad greens, several good sized Roma tomatoes, a bunch of radishes, more okra!, 4 pears, a small watermelon and 3-1/2 sweet peppers.


 My pick is pears this week. We haven't had their pears yet (last week it was a choice between microgreens and pears) and I am excited! Unfortunately, when I got them home and took them out of the bag, two were very bruised - and the rest of the pear is still unripe. I'm not sure they will be salvageable.


I'm more hesitant to say something with the CSA but figure there is no reason to be. I am paying more than normal grocery prices for this produce and I wouldn't hesitate to take a bad piece back to the grocery store for a refund, so why hesitate with the CSA? (I also heard someone talk about their slicer tomatoes molding after a day and she said she'd make up for it the next week so that boosted my confidence a little more.) :-) I'll update you next week on what they say.


*Sorry about the yellow pictures. It's getting darker earlier and by the time we get back the kitchen is too dark to get any good shots. Heaven forbid I use the flash(!)...

a rainbow of accessories

9.11.2012

So, I'm random. I know. Forgive me.

I take pictures of my accessories. (Roll your eyes. Go ahead...)

I have been on the look-out for yellow accessories (necklace, belt and/or shoes to be exact) to go with a navy and white polka dot vintage dress I found at the thrift store a few weeks ago. I LOVE it, but the style is pretty conservative so I want to jazz it up with a few modern and bright accessories.

Insert chunky yellow necklace (E - I found one!).

After I hung it up with my other necklaces I realized that all of a sudden it really popped - I've completed my rainbow (minus purple because I don't really wear much of it...)!

From left:
- red large bead and silver chain (modern/antique store in IA - it was new)
- vintage red and brass bead necklace (from my MIL)
- dark orange wooden bead (hand-me-down)
- orange pendant necklace (Korean hand-me-down)
- yellow chunky bead (thrift store)
- green glass bead (another hand-me-down)
- vintage aquamarine beaded necklace (from my MIL)
- teal beaded necklace (handmade gift)
- smaller teal beaded (gift from South Africa)
- multicolored green/blue beads on a ribbon (one I fell in love with from Target!)


Aren't these fun!? I'm a nerd but I love them! Can you tell I'm excited about my rainbow?

Now off to see if I can find a yellow belt so I can show off my newest vintage dress!